Now Reading: Comparing Popular Editing Styles for Different Photography Genres
-
01
Comparing Popular Editing Styles for Different Photography Genres
Comparing Popular Editing Styles for Different Photography Genres
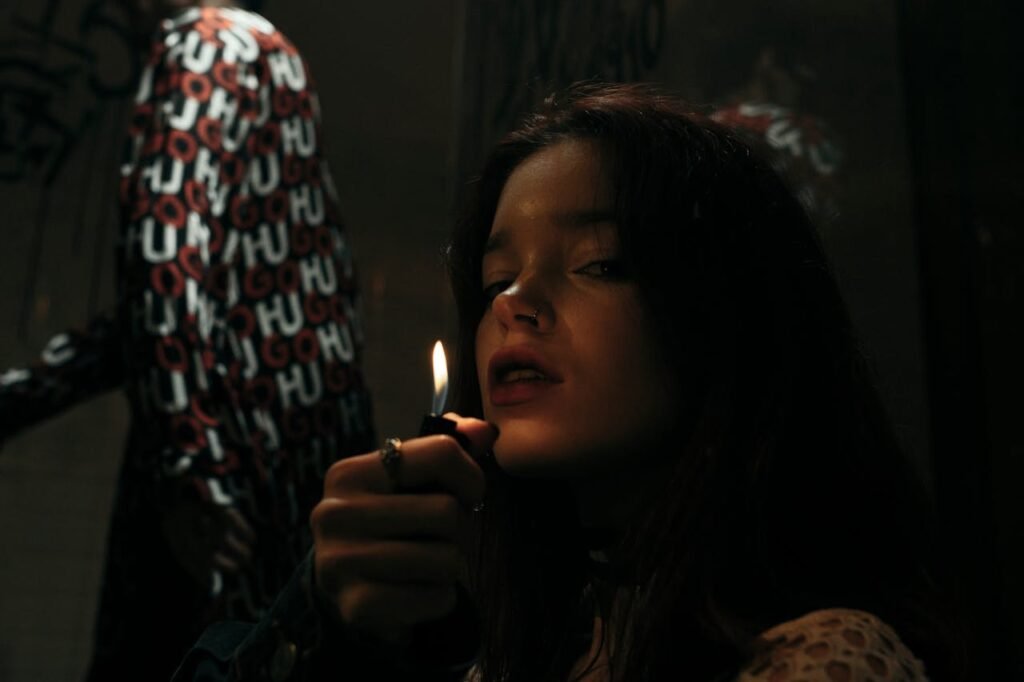
Low-light photography can transform an ordinary scene into a dramatic, moody, or magical masterpiece. But capturing that perfect shot in dim conditions can be a challenge, often leading to blurred, grainy, or underexposed photos. Luckily, mastering low-light photography doesn’t require expensive gear—just a good understanding of your camera settings. Here’s a step-by-step guide to harnessing the power of your camera in low light.
Low-light photography involves capturing scenes in minimal lighting conditions, like at dusk, indoors, or in ambient moonlight. This genre of photography requires balancing exposure and controlling light to achieve sharp, bright, and vibrant images.
The Importance of Stability
Even the slightest shake can cause motion blur when shooting in low light. Stabilizing your camera is key, whether with a tripod, a flat surface, or features like image stabilization.
A fast lens (with a wide aperture, such as f/1.4 or f/2.8) allows more light into the camera, which is essential in low-light settings. Lenses with lower f-numbers perform best, as they capture more light in each shot.
Opening the Aperture
The aperture setting, or f-stop, affects the amount of light entering the camera. In low light, setting your aperture to its widest (lowest f-number) allows you to capture more light, making the scene brighter.
Slower shutter speeds allow the camera’s sensor to absorb more light, making dim scenes appear brighter. Try starting with a shutter speed of 1/30 or 1/15 second, and experiment from there to find the ideal speed.
ISO determines how sensitive your camera’s sensor is to light. In low light, increasing the ISO can help brighten your images. However, be cautious, as a high ISO can introduce noise and grain.
Relying on Manual Mode
In manual mode, you have complete control over the aperture, shutter speed, and ISO. This setting allows you to fine-tune each element to get the best possible image in low-light environments.
Aperture Priority (Av or A mode) is a great setting for low-light photography. By selecting a wide aperture, the camera will adjust the shutter speed to keep your photo correctly exposed. Shutter Priority (TV or S mode) lets you set the shutter speed, and the camera adjusts the aperture. This can be useful for capturing specific effects, like light trails or motion blur.
In low light, small shakes can ruin photos. Burst mode takes several images in quick succession, increasing your chances of getting at least one clear, sharp photo. When pressing the shutter, the action may cause slight vibrations. Setting a 2-second timer can allow any shakes to settle, leading to sharper images.
Many cameras and lenses come with built-in stabilization. Activating this feature reduces blur caused by handheld shots, which is especially helpful in dim lighting.
Exposure compensation allows you to make images brighter or darker. If your shots appear too dim, increase the exposure compensation to add a bit more brightness. In low light, unnatural colors can creep in. Adjusting your white balance to a warm or cool setting (like Tungsten or Fluorescent) helps capture the true color of the scene.
Shooting in RAW mode preserves all image data, giving you more control over editing exposure, shadows, and highlights without degrading image quality. Autofocus can struggle in low light, so try using manual focus for precise control. Focus on a well-lit area or use a flashlight to help your camera lock onto a focal point.
If you’re photographing people or objects in low light, using a reflector (even a white sheet) can bounce available light back onto your subject for a clearer shot. Low light can produce unique effects, like light trails, silhouettes, or starbursts. Embrace these artistic opportunities to give your photos added impact. A flash often creates harsh shadows and ruins the mood of low-light scenes. Experiment with your camera settings instead of relying on the flash.
To capture light trails from cars or other moving objects, use a slow shutter speed and a tripod. This setting allows lights to streak across your image for a dynamic effect. Twilight provides a balanced light level that can add a magical feel to your photos. Aim to shoot around this time for naturally softer, more even lighting.
People ignore design that ignores people. Good design is all about making other designers feel like idiots because that idea wasn’t theirs. Design is the conscious effort to impose a meaningful order.
Andrew Bennett
Mastering low-light photography takes time and experimentation. Don’t be discouraged by a few failed shots; instead, learn from each session to refine your skills. Take test shots, review them, and make adjustments. Small tweaks to your ISO, shutter speed, or aperture can make a significant difference in the outcome.
Editing software like Adobe Lightroom or Photoshop can enhance your low-light photos, allowing you to adjust exposure, reduce noise, and bring out hidden details. Approach each shot with a specific vision or mood in mind. Whether it’s capturing a moody cityscape or a cozy indoor scene, intention can guide your settings and composition.
In low light, overexposure can wash out details. Aim to keep exposure balanced and slightly darker if necessary; you can always brighten it later in post-processing. Every shot you take in low light builds your skills and confidence. Keep experimenting, practicing, and refining your technique, and soon you’ll find yourself capturing stunning low-light images with ease.
Final Thoughts
With these tips and techniques, you can make the most of your camera in low-light situations, turning challenges into opportunities for creative expression. Low-light photography is often seen as one of the most challenging types to master, but with the right techniques, it can also be one of the most rewarding. The soft, ambient lighting in dim environments opens the door to unique atmospheres that can’t be replicated in brightly lit conditions. Learning to control your camera settings and understanding the effects of each—whether aperture, ISO, or shutter speed—empowers you to work with the light available rather than fight against it.
Remember that the beauty of low-light photography lies in experimentation. Don’t be afraid to push your camera’s limits, whether by adjusting settings to achieve a slightly grainy, cinematic look or by capturing the movement in a busy, night-time cityscape. Practicing different compositions and taking advantage of various natural and artificial light sources can make each photo unique. Over time, as you develop a feel for what works in dim environments, you’ll start to see low light as a creative tool rather than a limitation.
Post-processing is also essential in low-light photography. Even a well-captured image can benefit from minor edits to enhance color, reduce noise, or adjust shadows and highlights. Consider experimenting with editing tools to refine your photos further; programs like Lightroom, Capture One, or Photoshop can take your images to the next level and bring out details that might otherwise be lost.
Finally, embrace the imperfections that come with low-light photos—whether subtle noise, natural shadows, or dramatic highlights. These qualities add character and depth to your images, capturing the essence of the moment and bringing an emotional connection to your audience. Each photo you take is a testament to your creative vision and technical skill, and as you continue to improve, your mastery over low light will make a profound difference in your photography portfolio. Happy shooting!
Unlike in 2007, when reality TV became a go-to solution for content-hungry networks, today’s television executives have more options. Streaming platforms, vast libraries of pre-existing content, and the ability to pull in international series have reduced the reliance on hastily produced reality shows to fill programming gaps. The 2024 strike has affected reality TV’s ecosystem in ways that weren’t as pronounced during the 2007 strike, leaving the genre exposed.
